
Mastering the ambush in Arc Raiders is a distinct strategic progression path that allows you to eliminate superior-geared opponents through the power of surprise. In the Exclusion Zone, the person who fires the first shot with the best positioning usually wins the fight. For players aiming to maximize their lethality while minimizing their own risk, developing a disciplined ambush routine forms a reliable framework for victory. It is about understanding that the loudest and fastest raiders are often the easiest to kill.
This guide examines how to approach ambushes efficiently, focusing on the “sound trap,” the use of high-value bait, and the critical importance of trigger discipline to ensure every strike is a decisive one.
The Logic of Asymmetrical Warfare
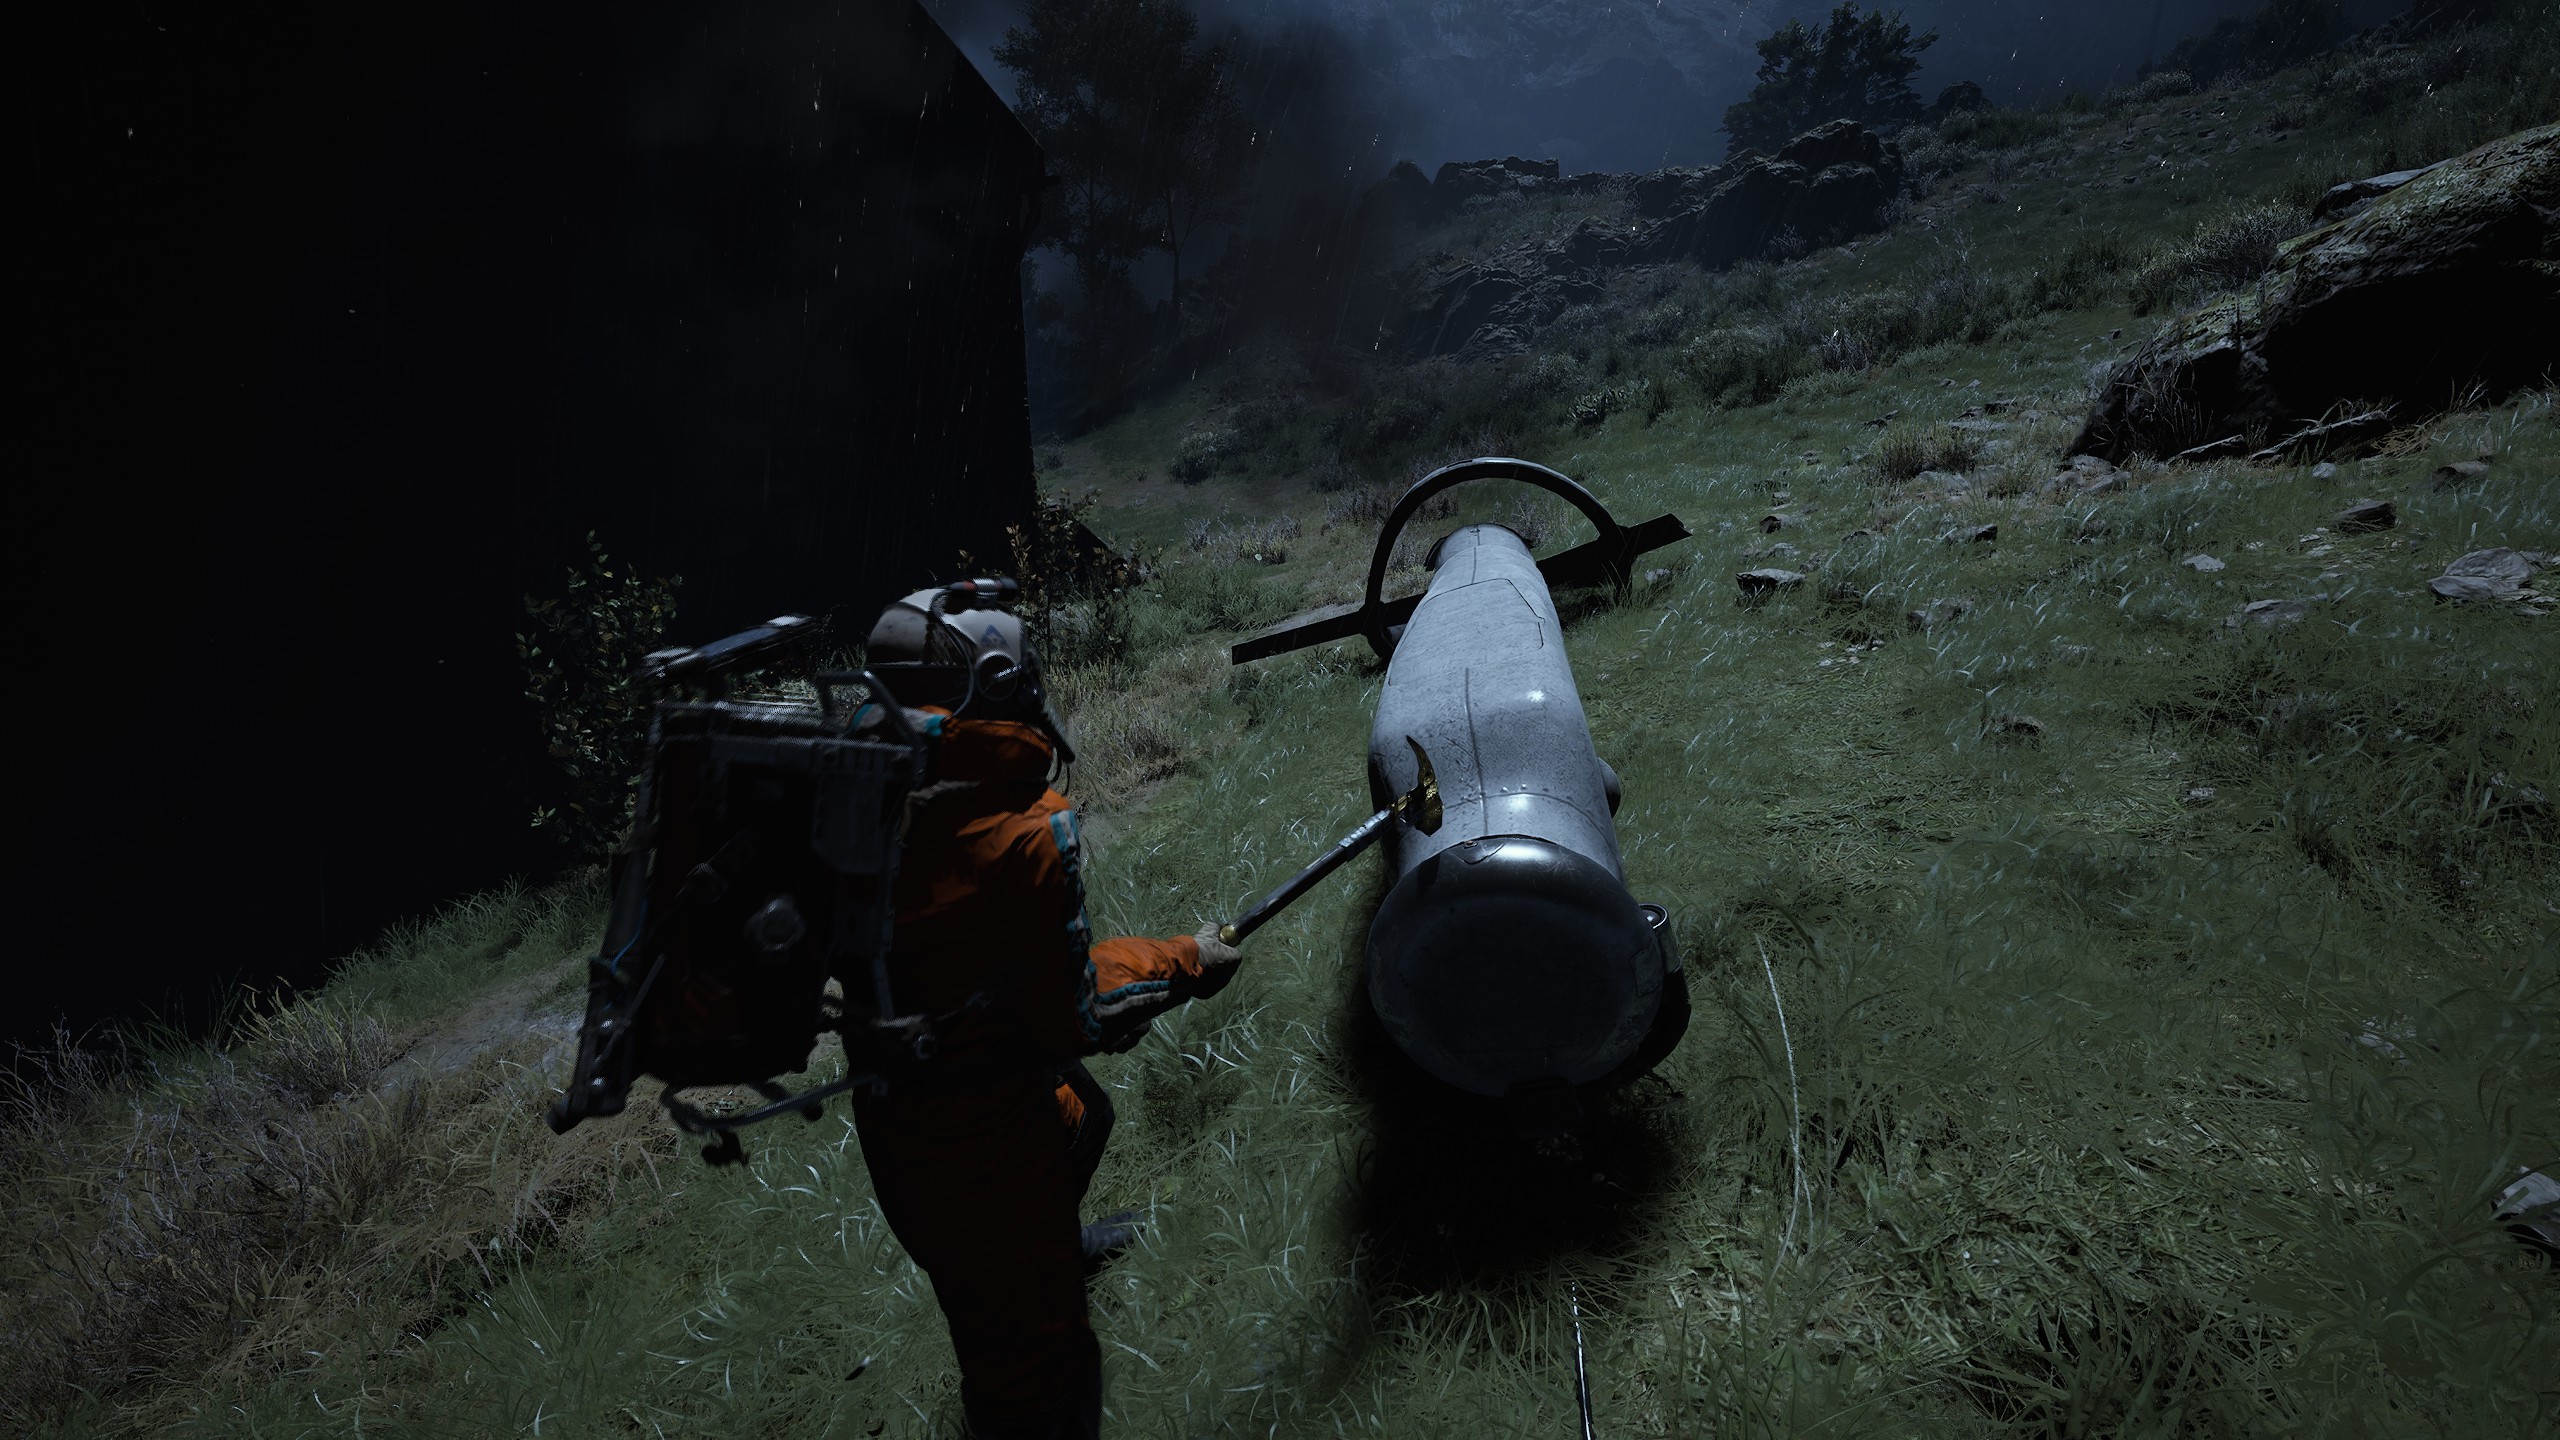
An ambush is a deterministic strategy that negates the enemy’s mechanical skill. Even the best shooter cannot win if they are caught in the open, facing a crossfire they didn’t know existed. The goal is to create a situation where the enemy has zero time to react. This requires you to be comfortable with stillness and silence. In Arc Raiders, movement is information; by remaining stationary in a well-chosen spot, you are effectively invisible to the casual player who relies on their eyes and ears to find threats.
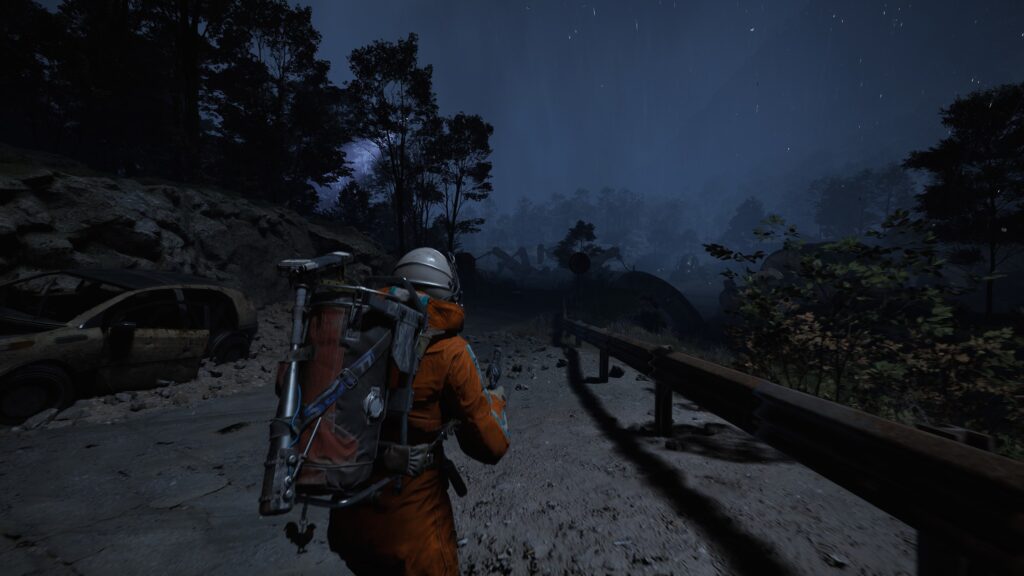
This strategy is particularly effective for solo players or under-geared duos. It shifts the challenge from a test of gear and aim to a test of patience and environmental awareness. A successful ambush transforms a high-risk engagement into a clean execution, allowing you to harvest high-tier loot from players who were too overconfident or too rushed to check their surroundings. Mastery of the ambush makes you the most dangerous variable in the Exclusion Zone.
Core Tactics: The Sound Trap and Trigger Discipline
A successful ambush relies on two primary pillars of stealth and timing:
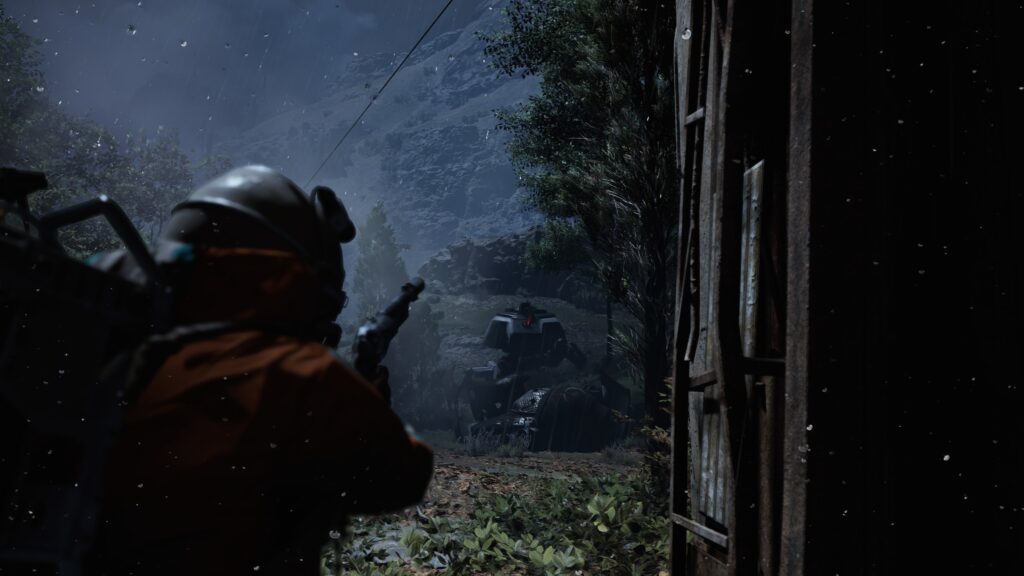
- The Sound Trap: Most players sprint toward the sound of loot or combat. By intentionally making a small amount of noise (like firing a single unsuppressed shot or breaking a window) and then immediately relocating to a silent overwatch position, you can lure “greedy” players into your line of fire.
- Trigger Discipline: Do not shoot the moment you see the first enemy. If they are in a squad, wait until the entire team is in the “kill zone”—an area with no immediate cover. If you shoot too early, you alert the rest of the team and lose your advantage.
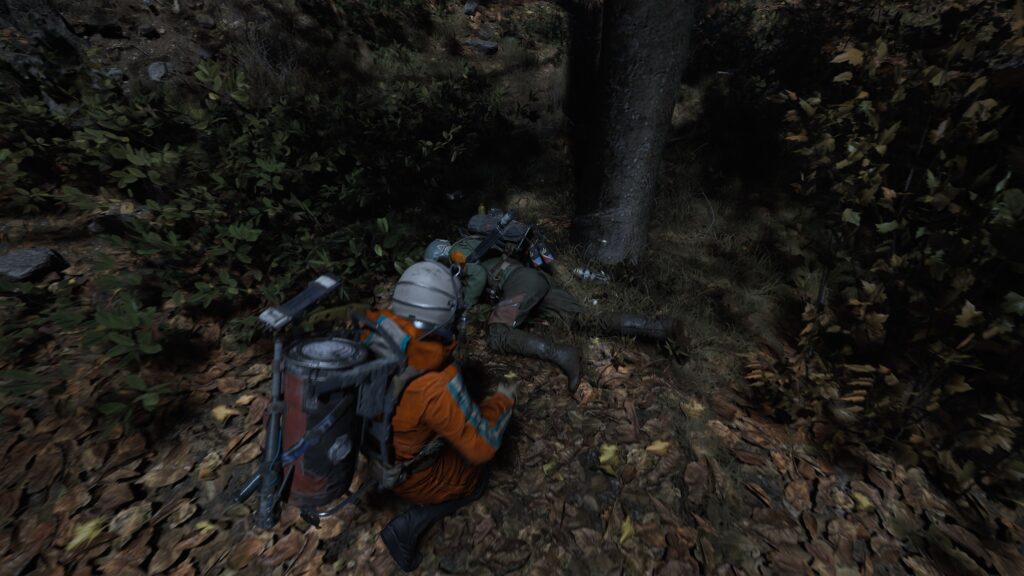
- Synchronized Striking: If you are in a squad, the “Go” signal should be a single suppressed shot or a ping. Everyone should open fire simultaneously to ensure the targets are downed before they can reach cover or deploy utility.
Using Bait: Caches and Loot Bags
The most effective ambushes often involve “baiting” the enemy with what they want most: loot. An unopened high-tier cache or a loot bag left in the middle of a street is an irresistible lure for most raiders. By positioning yourself in an “off-angle” overlooking this bait, you create a perfect killing ground. The enemy will often drop their guard, stop moving, and enter a menu to loot, making them a stationary and defenseless target.
When using bait, ensure your own position is not obvious. Avoid common windows or rooftops that experienced players will “pre-clear.” Instead, find a spot in the shadows, behind debris, or inside a bush. The goal is to be in a location where the enemy would never think to look until it is too late. This use of psychological manipulation turns the enemy’s own greed against them, providing you with an easy path to high-tier gear and successful extractions.
The “L-Shape” Ambush Geometry
To ensure no one escapes your ambush, use the “L-Shape” positioning. Arrange your squad so that you are attacking the enemy from two sides at a 90-degree angle. This ensures that if the enemy tries to take cover from one of you, they are completely exposed to the other. This geometry makes it impossible for the enemy to hide or return fire effectively. It also prevents “friendly fire” incidents, as your teammates are not shooting toward each other.
This positioning is particularly lethal on extraction paths or narrow urban corridors. Once the enemy enters the “elbow” of the L-shape, they are trapped. Combined with a well-timed grenade to initiate the fight, this tactical setup ensures a total team-wipe in seconds. By mastering the geometry of the kill-zone, you remove the chaos of combat and replace it with a structured, lethal system that rewards your preparation and patience over the enemy’s raw gear level.
Conclusion: The Patient Hunter Wins
Ambush mastery rewards the patient and the calculating. By using sound traps, baiting with loot, and maintaining perfect trigger discipline, you turn the Exclusion Zone into a minefield for your opponents. Integrating these ambush basics into your daily routine ensures that you always have the first-shot advantage, providing a steady stream of high-value loot and successful extractions through superior tactical foresight.
Leave a Reply